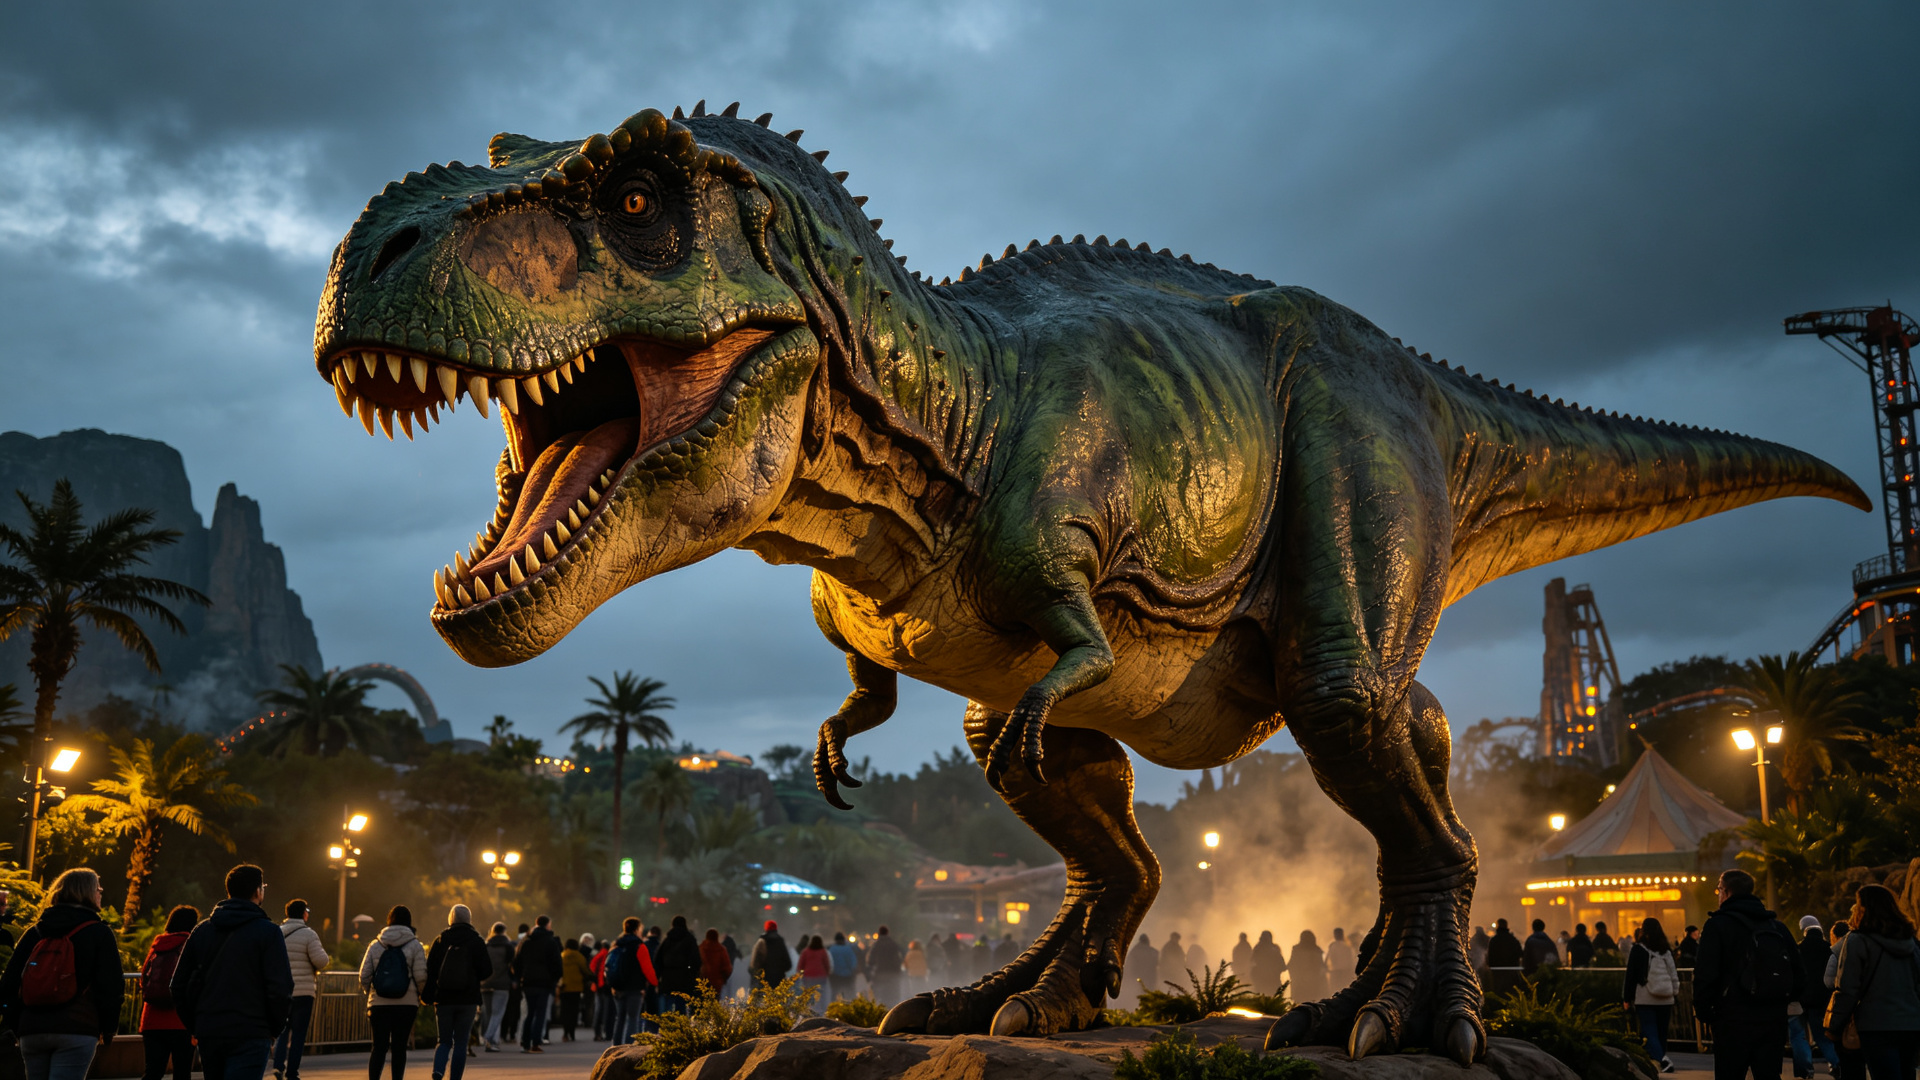
Professional installation is the single most important factor in maximizing the lifespan, performance, and safety of your animatronic dinosaur. Even the highest-quality dinosaur will develop problems prematurely if installed incorrectly — seized joints, electrical faults, structural instability, and accelerated skin degradation are all common results of poor installation.
Before You Begin: Site Preparation Checklist
Proper site preparation starts weeks before the dinosaur arrives. Address these items well in advance to avoid installation delays:
- Foundation and flooring: Verify that your floor or ground can support the dinosaur's weight. A standard 8-meter T-Rex weighs 800-1,200 kg, and the dynamic load during operation is higher. Outdoor installations need a concrete slab or reinforced platform; indoor installations need structural floor load confirmation.
- Clearance: Allow at least 1 meter of clearance around all moving parts. Overhead clearance must exceed the dinosaur's maximum height by at least 0.5 meters. If the dinosaur has a long neck or tail that sweeps in a wide arc, map the entire movement envelope.
- Power supply: Run a dedicated electrical circuit to the installation location. Most mid-size dinosaurs need a 220V single-phase circuit at 5-10 amps; large models may require 3-phase power. Always install a ground fault circuit interrupter (GFCI) for outdoor installations.
- Access path: Measure all doorways, elevators, hallways, and gates along the delivery route. Dinosaurs often travel partially disassembled but still require wide access. For giant models, you may need to route through loading docks or use overhead rigging.
- Weather protection: Outdoor installations should have some form of overhead protection if possible — a canopy, awning, or rockwork overhang significantly extends the dinosaur's lifespan by shielding it from direct sun and heavy rain.
- Safety barriers: Prepare safety barriers (glass panels, railings, planters, or rope barriers) for the 1.5-meter minimum safety zone around the dinosaur. Install warning signage noting moving machinery and loud sounds.
What to Expect on Delivery Day
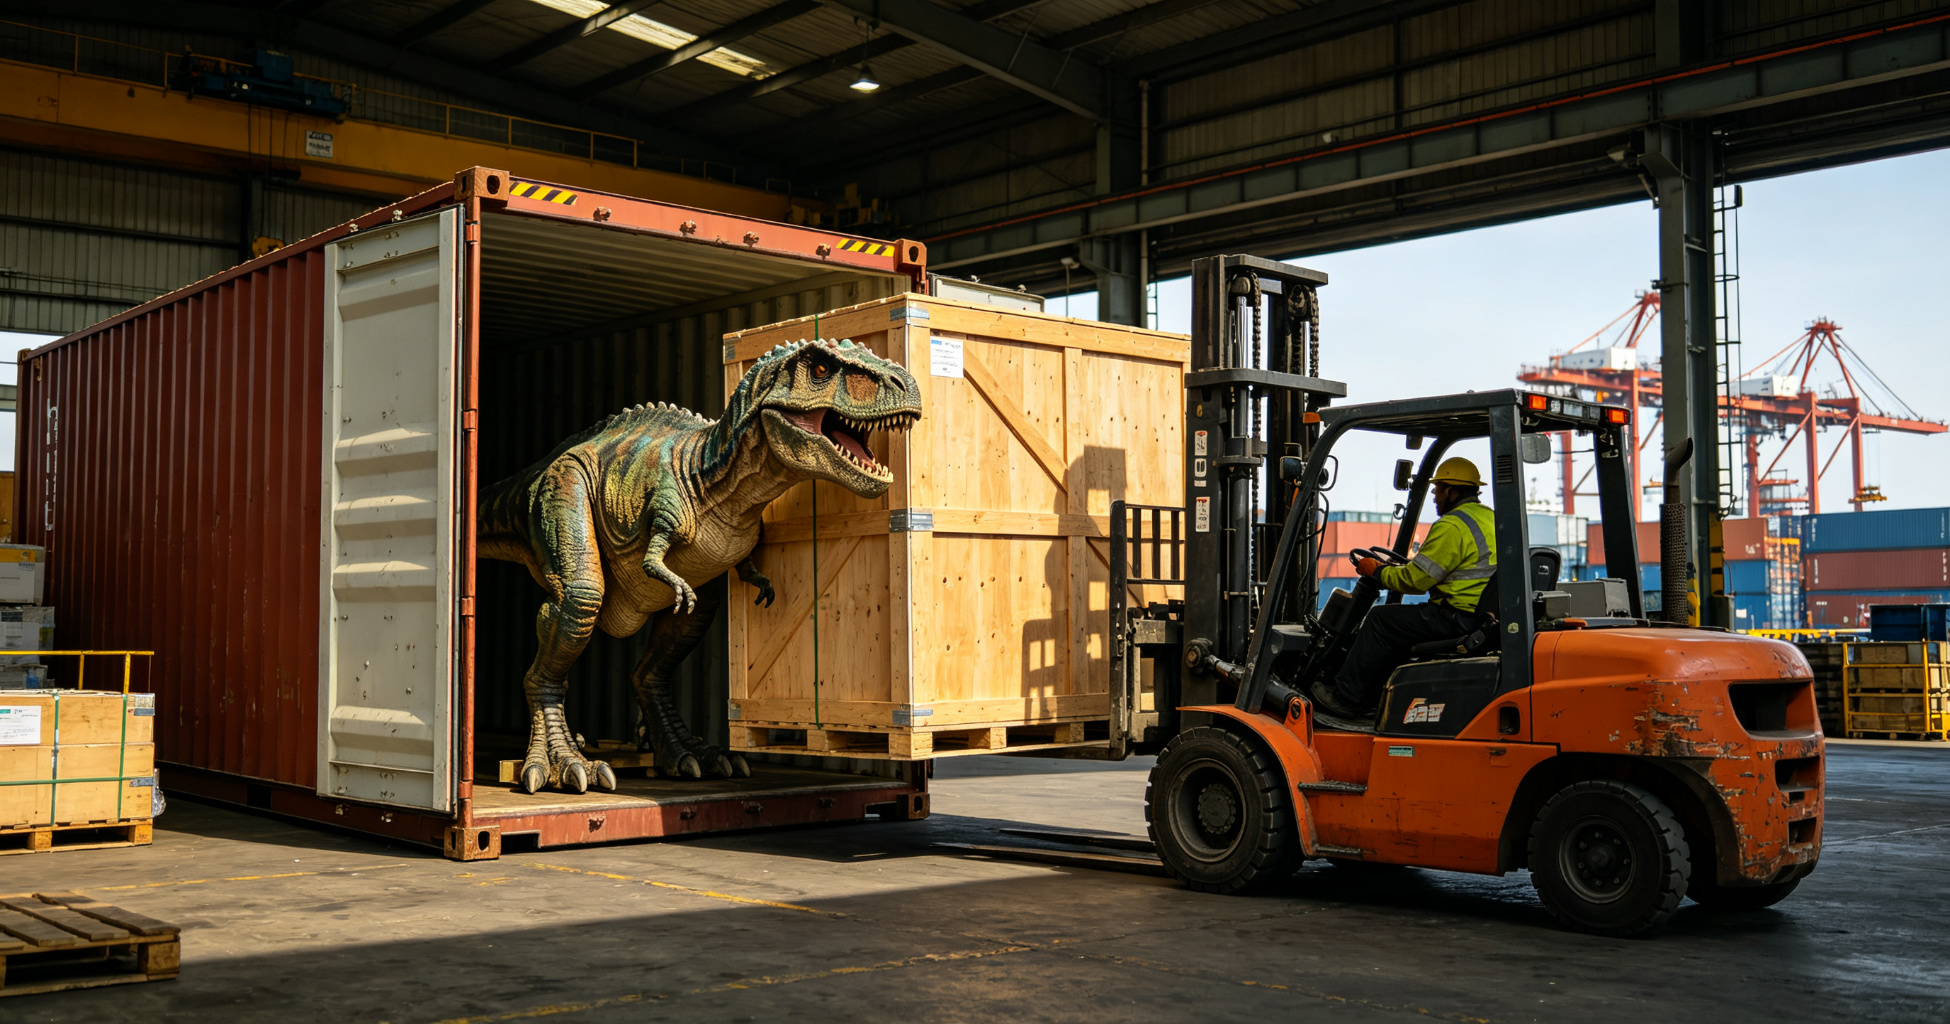
Your dinosaur will arrive in a custom-built wooden crate (or multiple crates for large models). Before opening anything:
- Inspect the exterior of each crate for shipping damage. Photograph any dents, punctures, or water stains before opening.
- Verify that the crate count matches the shipping manifest.
- Clear a large, flat work area near the final installation site. Lay down protective padding to prevent skin damage during unpacking.
- Gather the tools you will need: socket set, wrench set, screwdrivers, multimeter, ladder, and a lifting device (forklift, hoist, or strong A-frame with come-along) for heavy sections.
Step-by-Step Installation Process
Day 1: Unpacking and Base Setup
- Uncrate components: Carefully open crates and remove all parts, including hardware bags, control panel, and documentation. Lay components out in an organized way for easy assembly.
- Inspect for damage: Examine every component for shipping damage. Check skin for tears, metal frame for bent sections, and electrical connections for loose wires. Report any damage to the manufacturer and shipping company immediately.
- Position the base: Move the dinosaur's base frame into its final position. Use a level to confirm it is perfectly level — an unlevel base causes uneven wear on mechanical components and can lead to motor failure.
- Secure the base: Anchor the base frame to the foundation using the provided anchor bolts or expansion bolts. This is critical for safety — a moving dinosaur generates significant dynamic forces.
Day 2: Body Assembly and Mechanical Connection
- Assemble main body sections: Mount body segments to the base frame in the correct order. Torque all bolts to the specified values in the assembly manual.
- Connect drive chains and linkages: This is the most mechanical part of the installation. Connect each motor to its corresponding joint using the provided chains, rods, and cables. Apply proper tension to chains — too tight causes premature wear, too loose causes jerky movement.
- Install head, tail, and appendages: Attach the head, tail, and any legs or wings. Connect their drive mechanisms and test each movement manually before applying power.
- Wire harness connections: Connect all wiring harnesses between body sections. Use dielectric grease on all connectors for outdoor installations to prevent corrosion. Route wires through protective conduit where they might be exposed to weather or mechanical stress.
Day 3: Electrical Connection, Programming, and Testing
- Connect main power: Wire the control panel to the dedicated power circuit. Verify correct voltage with a multimeter before connecting to the dinosaur.
- Power up the control system: Turn on the main power and boot up the controller. Check for any error codes or fault indicators.
- Test each movement individually: Run each motor separately through its full range of motion. Check for binding, unusual noises, or jerky movement. Adjust chain tension and linkage alignment as needed.
- Load motion sequences: Upload the pre-programmed motion sequences (or program custom ones on site). Verify that movements are smooth, well-timed, and properly synchronized with sound effects.
- Calibrate sensors: If the dinosaur has IR or motion sensors, adjust their range and sensitivity so the dinosaur activates at the desired distance for your specific layout.
- Set audio levels: Adjust speaker volume to appropriate levels for the environment. Indoor museum settings need lower volumes than outdoor theme parks.
- Full system test: Run the complete program through at least 10 full cycles. Watch for any issues that only appear after repeated operation — intermittent electrical connections, overheating motors, or skin catching on moving parts.
Professional Installation vs. Self-Installation
SAGE strongly recommends professional factory installation for all medium and large dinosaurs. Our technicians have installed hundreds of dinosaurs worldwide and can complete the job faster, safer, and with better long-term results. However, for qualified teams with mechanical and electrical experience, we provide detailed installation manuals, video guides, and remote technical support.
Consider professional installation if: the dinosaur is 10m or larger, it has 8+ movements, it is a custom or complex design, or this is your first animatronic installation. The cost of professional installation is typically 10-20% of the purchase price and pays for itself in avoided mistakes and extended lifespan.
Common Installation Mistakes to Avoid
- Insufficient anchoring: Never skip anchor bolts. Even a small dinosaur can shift position during operation, creating safety hazards.
- Improper chain tension: Over-tightened chains are the #1 cause of premature motor bearing failure.
- Pinched or exposed wires: Always check for wires that could be pinched by moving parts or exposed to weather.
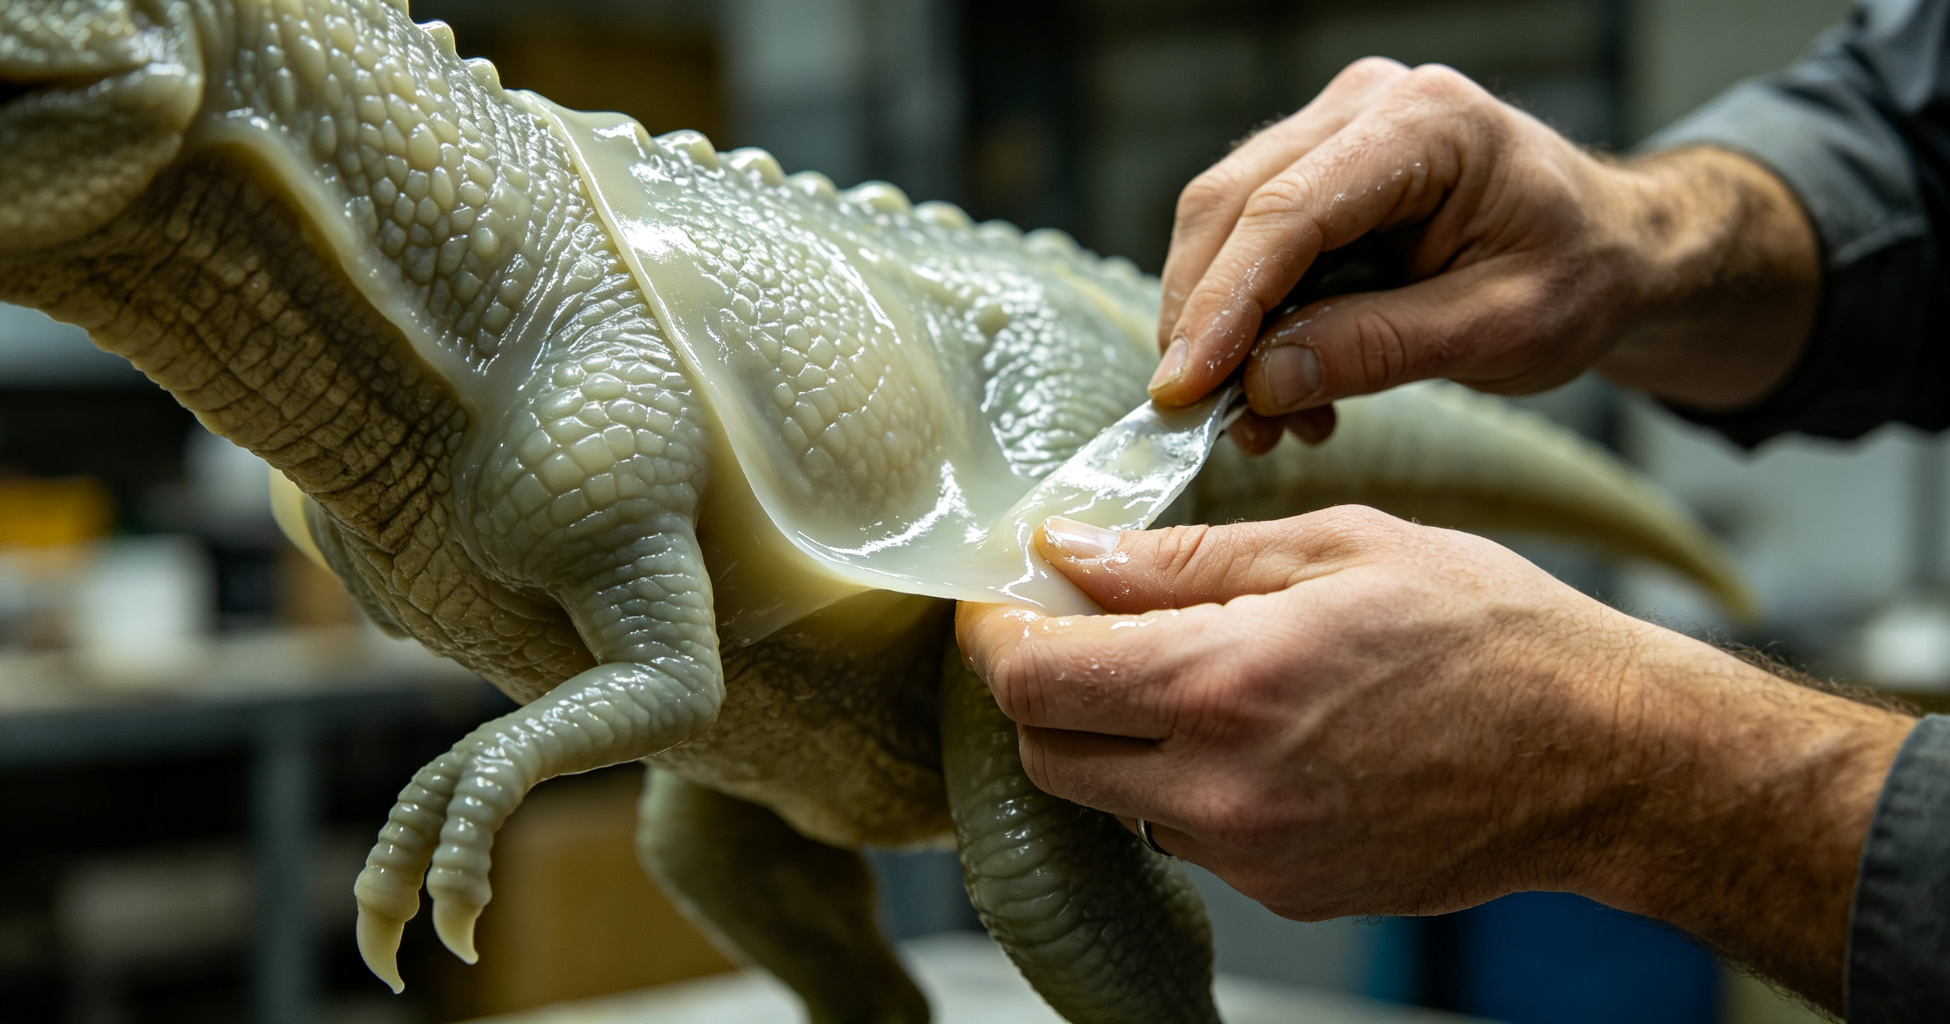
- Skin tears during assembly: Handle skin-covered sections carefully and use padded lifting straps. Silicone can be repaired but never looks as good as the original.
- Skipping the run-in test: Always run a full 10-cycle test before considering installation complete. Most problems show up in the first few hours of operation.